Nissan March/Micra Stuck Shift Lock Repair

The shift lock is the mechanism that keeps the gear shift stuck in PARK unless the ignition is on and the foot brake is depressed.  There is also a manual override button, I guess intended for allowing the shift to neutral for towing etc even when the car is switched off.

For some time now, we've been resorting to the manual release button because the automatic mechanism doesn't work.  (2003 Nissan March)

The mechanism is pretty simple.  Circuit diagram here: Micra K12 manual page 3912 on manuals.co .  There is a solenoid (black/white wires) in series with the brake switch, and a  microswitch (blue/white wire) that is closed when the shifter is in Park.

Closeup of microswitch inside shifter mechanism

Getting access to the mechanism is a matter of removing two screws either side of the centre cover at the rear (push seats forward to access). Lifting the cover from the back will pop out the two clips at the front.

Using a continuity tester I found the microswitch wasn't closing when the shifter was in park. However, pressing it more firmly caused it to close.  Probably the plastic cam that presses the switch has finally worn too much.

I fixed this by moving the shift out of Park, and carefully bending the microswitch lever up towards the cam.  The above photo shows it closed now.

Reflash Asus WL-520GU

Reverting my old router to DD-WRT because current LEDE is too heavy for its old brain.
This is a reminder for me about how to do it.

Power up with the black reset button held in, keep it in until the power led starts flashing. The router is now in TFTP recovery mode.

It has a static IP address of 192.168.1.1, and doesn't do dhcp on the link.

So, plug cable directly into the computer, and manually set up the interface:

sudo ip address add 192.168.1.10/24 scope global dev enp3s0
sudo ip route add 192.168.1.0/24 dev enp3s0 proto kernel scope link src 192.168.1.10
tftp 192.168.1.1
>>> mode binary
>>> put dd-wrt.v24_mini_asus.trx

I also had to reset the NVRAM to reset the login password. Power up, he power light will blink. As soon as the power light turns off, press and hold the reset button. Hold the reset button until the power and wireless buttons glow green.

HP 245 G6 laptop linux - multiple problems

Time to get a new laptop for a family member.  Something pretty cheap.  These days (Feb 2018), linux "just works" right? (It does on 5 older laptops).  Not on the HP 245 G6!   I am installing Linux Mint 18.3, but don't doubt that similar problems would occur with other distributions of the same vintage.

With the problems listed below, I can't recommend this as a target for linux installation.

UPDATE 20180408 : Installed stock 4.16 kernel, display flickering problems are (so far) fixed.

Filesystem corruption with AMD GPU and IOMMU

The worst of these is that with default kernel parameters, it is not long before all mounted filesystems are irreparably corrupted!  The gory details are explained here.

The interim solution is to add amd_iommu=off to the kernel parameters.

It is possible that kernel 4.15 contains a fix for this problem, but finding out if this is true will be something I approach with trepidation!

AFAICS there is no real benefit in using the iommu unless you are virtualizing access to a peripheral for a VM etc. Feel free to contradict me in the comments section!

Wifi driver not in standard distro

The wifi chip is a realtek RTL8723DE  PCI ID D723 which lacks a driver in the current distro kernels (4.10, 4.13). There are a couple of github repos with drivers for this chip, which got it up and running for wifi (BT not tested yet)

Info about building driver can be found here. For kernel 4.16 I used the rtlwifi_new repository mentioned there, using DKMS for build.  I had to manually copy the firmware to  /lib/firmware/rtlwifi

Using module parameter ant_sel=2 gives the best Rx signal.

SD Card Reader

This is apparently an Alcor Micro card reader USB id 058F:6366 bus 2 device 2

If there is no card present at boot, the device doesn't show up at all, i.e. lspci doesn't mention it.

I rebooted with the card from my camera in place, and the card shows up.  However, as soon as the card is removed, the device disappears and doesn't reappear when the card is plugged in.

In a quick test with windows OS, the card reader works OK, recognises card insertion and removal.  So, no problem with the hardware.

Physically, there is no eject mechanism (i.e. push-in, pop out) on the card slot, so it is very awkward to extract the card with only about 3mm of it projecting from the case.

UPDATE 20180408 Workaround:

Thanks to this answer: Power cycling the usb hub associated with the card reader seems to do the trick.

  1. Insert SD card
  2. (as root) echo 0 > /sys/bus/usb/devices/usb2/authorized
  3. wait briefly
  4. (as root) echo 1 > /sys/bus/usb/devices/usb2/authorized
  5. enjoy access to your sdcard

Once the above process has been followed once, it appears that the card reader behaves as expected when a card is removed/inserted without having to reset the hub again.

Display

Starting from cold, shortly after reaching graphical login or desktop, the display starts flickering (enough to be a worry for epileptics I guess).  Switching away to a different virtual console (Ctl-Alt-F6, Ctl-Alt-F7) may fix it temporarily. Either that or close the lid to suspend, then wake up again.  After the display has been on for a while, the flickering goes away.

The flickering also appears on an external monitor when one is connected.

Update: I experimented with temperature dependence by cooling the powered-down laptop in the fridge, and warming gently in the oven (Oven switched off, temperature measured at <40C with an accurate thermometer).  Then at each temperature booted to desktop. This confirmed that the problem is much worse when the laptop is cold, and probably doesn't occur when it is quite warm.

Power supply

The power connector is a so-called "HP Smart Adapter".  This has a third concentric pin in the centre of the power socket.  The universal adapter that we already have doesn't include one of these amongst its array of interchangable connectors, so is currently useless. So the HP supplied adapter will have to be carted to and from work.

What does work???

  • The audio is via a combo headphone/microphone jack. This works OK with a set of phone earbuds with microphone.
  • The DVD drive.
  • The HDMI display output.
  • The camera

Untested

  • Bluetooth

 System details

For reference here are some details about the system hardware

System: Host: mint Kernel: 4.10.0-38-generic x86_64 (64 bit) Desktop: Cinnamon 3.6.6
Distro: Linux Mint 18.3 Sylvia
Machine: System: HP (portable) product: HP 245 G6 Notebook PC
Mobo: HP model: 8324 v: 22.24 Bios: American Megatrends v: F.20 date: 11/07/2017
CPU: Dual core AMD E2-9000e RADEON R2 4 COMPUTE CORES 2C+2G (-MCP-) cache: 2048 KB
clock speeds: max: 1500 MHz 1: 1300 MHz 2: 1300 MHz
Graphics: Card: Advanced Micro Devices [AMD/ATI] Device 98e4
Display Server: X.Org 1.18.4 drivers: ati,amdgpu (unloaded: fbdev,vesa,radeon)
Resolution: 1366x768@60.01hz
GLX Renderer: Gallium 0.4 on AMD STONEY (DRM 3.9.0 / 4.10.0-38-generic, LLVM 4.0.0)
GLX Version: 3.0 Mesa 17.0.7
Audio: Card-1 Advanced Micro Devices [AMD] Device 157a driver: snd_hda_intel
Card-2 Advanced Micro Devices [AMD/ATI] Device 15b3 driver: snd_hda_intel
Sound: Advanced Linux Sound Architecture v: k4.10.0-38-generic
Network: Card-1: Realtek RTL8111/8168/8411 PCI Express Gigabit Ethernet Controller driver: r8169
IF: eno1 state: down mac: xxxx
Card-2: Realtek Device d723
IF: N/A state: N/A speed: N/A duplex: N/A mac: N/A
Drives: HDD Total Size: 1032.2GB (1.3% used) ID-1: USB /dev/sda model: USB_3.0_JET_16GB size: 15.9GB
ID-2: /dev/sdb model: TOSHIBA_MQ01ABD1 size: 1000.2GB

Kenwood HB720 repair

Our Kenwood HB720 hand blender suddenly stopped working. The punchline of this post is that inside its excruciatingly-difficult-to-dismantle mechanism (i.e. never intended to be repaired), it includes a fuse, which had blown.   This post will be updated to give the details about how to take the machine apart, and whether I managed to reassemble it after replacing the fuse.

So, if "the motor is broken" on yours, it may just be the fuse that has blown.

One sign that the fuse is probably blown is that a diode test with +ve on phase, -ve on neutral shows open circuit when the Turbo button is pressed (this button bypasses the speed controller, and connects mains power via a bridge rectifier to the DC motor).

Dismantling

WARNING: treat the metal body of the motor as live (mains voltage) when the unit is plugged in.  More detail further down.

Tricky. There are a couple of videos purporting to show how to dismantle it, but I reckon they both are filmed after the unit has been dismantled and reassembled.

First remove the drive-end cover.  This is held in place by three  hooks on the inner plastic part, that engage with square holes on the cover.  One is above the ejector wedge on the side without the number stamped on it. The others are 120 degrees round from that. You might be able to get this cover off just by pulling very hard, but otherwise probe with a small screwdriver(s) to push the hooks inwards and disengage them.

The inner part is glued or welded in to the body.  This thing is a prick to get out. I attacked it with a screwdriver and a scalpel, and still it looks fairly munted.

Carefully prise off the speed control knob at the cord end.  This reveals 4 screws, to be removed. Turn over the plastic circle with the cog and undo the 2 screws to release the cord clamp. Slide the knob and clamp up the cord.

Now push on the plastic tray holding the circuit board, pull on the motor shaft to remove the motor + speed control assembly.

Electronics

So here's the speed controller board

The fuse is inside black heatshrink "FR-H TUBE 125C".  It is soldered to the board.

The blown fuse

The blown fuse

The speed controller

The speed controller

A strange thing is that the fuse is rated at 1.6A, while the machine is nominally 700W.   Unless I'm missing something, 3A at 240V is 720W, so either Kenwood is lying about the power rating, or the fuse rating is too low?

I replaced the fuse with a piece of wire, because I'm not planning to open this up again.

Reassembly

Having cut the glue/welds of the inner part to remove it, it needs something to keep it in place when reassembled.  You could glue it back in, but I opted for some small screws.

[picture here]

Once the blender was back in use, I got complaints from other family members that they were getting shocks off the blender.  It turns out that one of the metal screws would become live when it was running and the person was also contacting an earthed metal kitchen bench.  I replaced it with a smaller screw, but perhaps glue or plastic screws would be a better option!

Links

Schematic (Polish language)

Another set of photos about dismantling and assembling HB720.   Pretty good,  the inner and outer drive-end covers are shown still connected together. I doubt it is possible to remove them in this state.

5th Anniversary of Christchurch Quake

Today is February 22nd, the 5th anniversary of the (first of many) earthquakes that devastated Christchurch.

There has been plenty written about the big picture so I'll add a few words about the little picture I see around here.

I'm still in the same house I was in on that day.  It was repaired over five months in the first half of 2014 (thanks to the guys from Clive Barrington Construction - it was worth the wait to get you).    Due to some quirk of geology and construction, it stood up pretty well compared to our neighbours.

Lets talk about them...

Three  sections to the North, the retaining walls have been slowly repaired over the last 8 months or so. I hope a house will start going up there soon, and eventually the lovely family who lived there will be able to return before our children leave home.

Two houses North, the house is clad in its second lot temporary building paper.  The house will eventually have to be demolished. The people who live there have finally got fed up with waiting and are looking elsewhere.  I don't blame them.

Our neighbour to the North still lives there, still waiting for the partial rebuild, partial repair that is the latest word on what will happen.

The two houses to the South are both unoccupied, and becoming more and more derelict. They will both have to be demolished.

On the other side of the lane, the small cottage has been repaired, the other two houses are liveable but not repaired yet.

So don't tell me to move on, or scold me for being negative and tell me that things are pretty much sorted - they have hardly started, and I'm not looking forward to the noise, dirt and disruption that is yet to come.

Vines growing through a broken window inside a house 
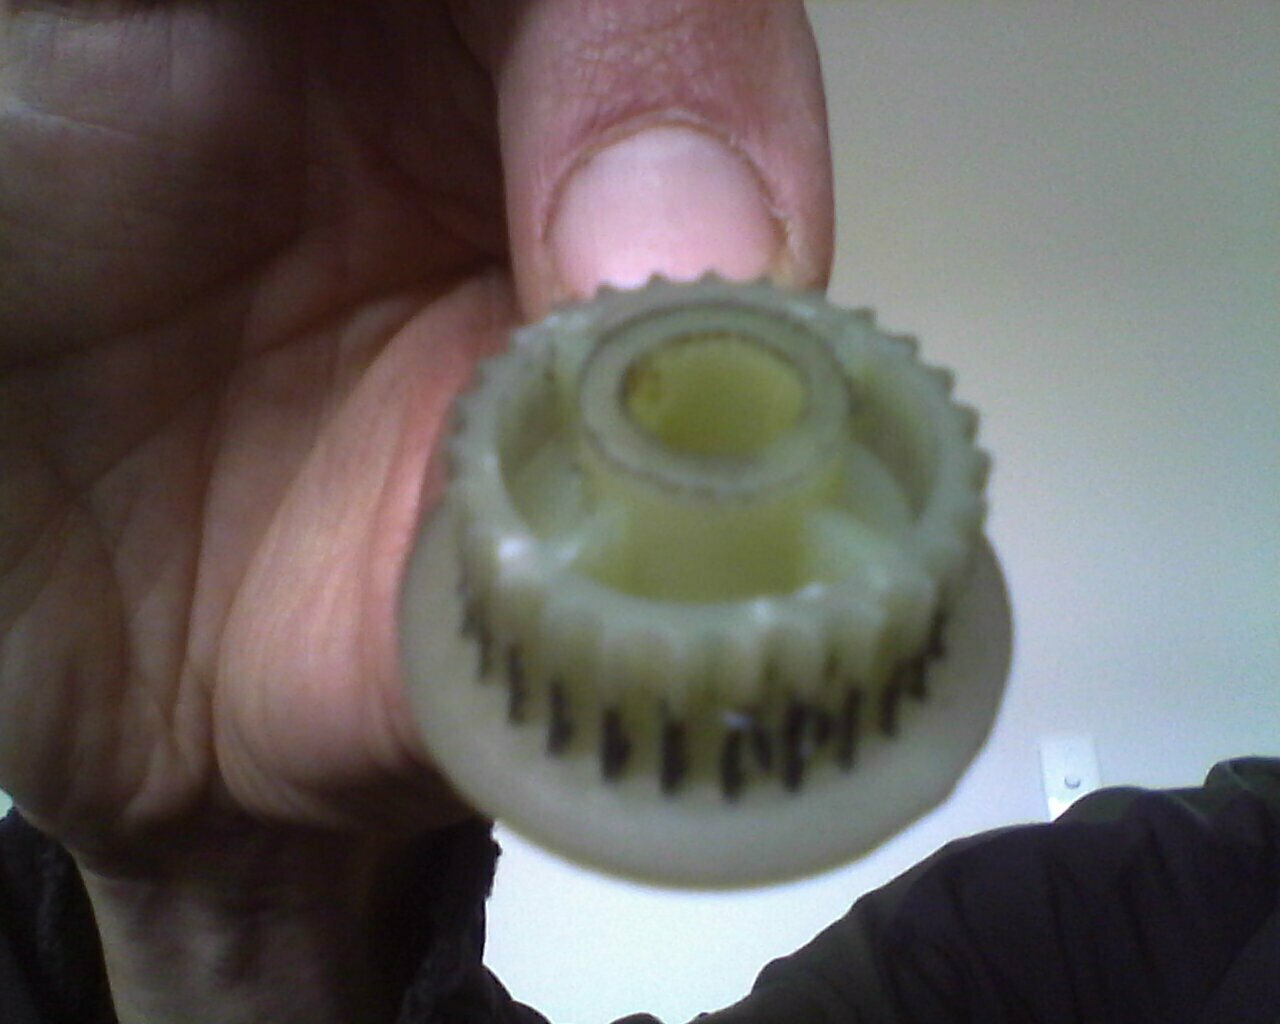
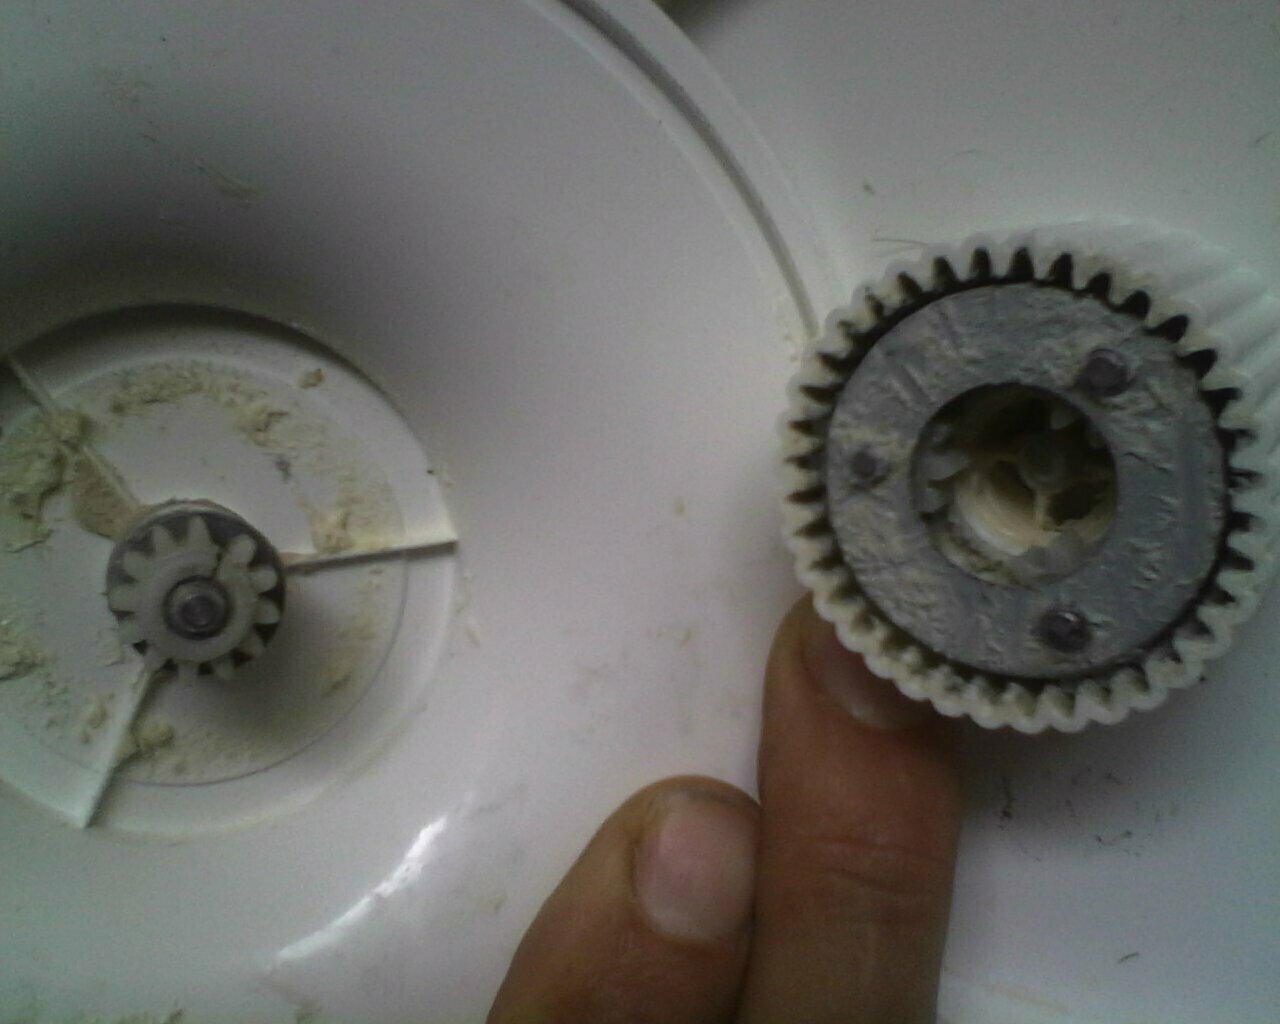
Nature abhors a vacuum

Repair of Kenwood FP481 Food Processor

This is a follow up to previous post

Thanks to need a part, I got the spare parts I needed to repair the food processor. The price was enough to make me wince! : Upper drive belt $19.95, Upper cog $18.95, P&P $7, (+ Hand Blender geared lid $19.95).  But a combination of bloodymindedness and marginally OK economics meant I went ahead with this anyway.

Old and new gears and belts 
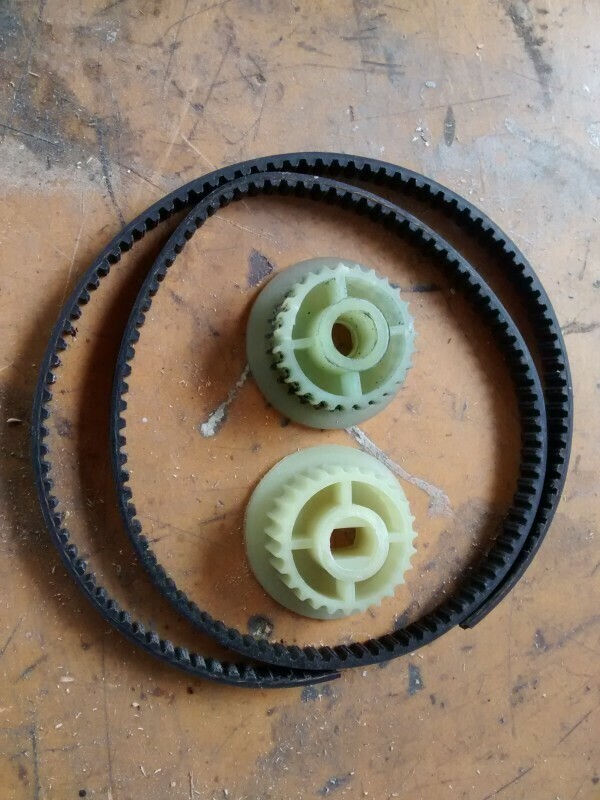
Out with the old and in with the new.

The drive belt is a direct replacement, but the toothed pulley is made for a shaft with 2 flats on it.

Old and new pulley 
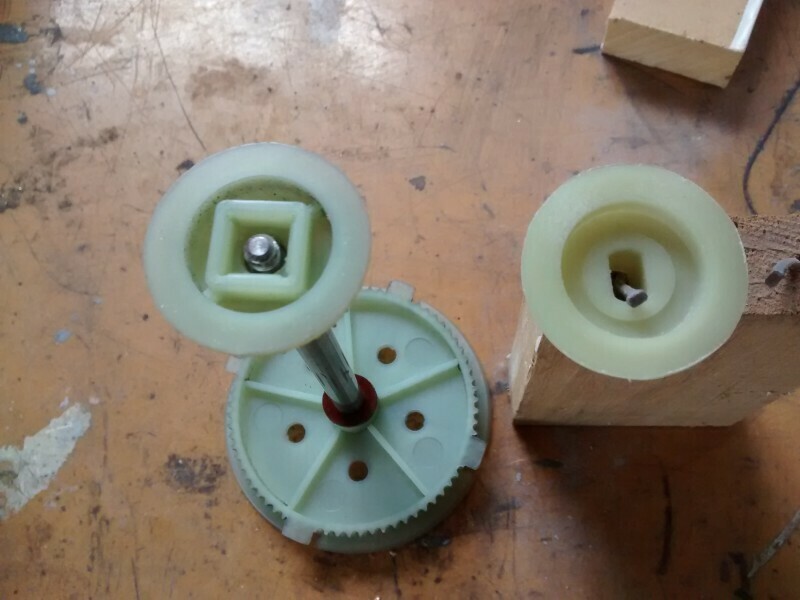
Old pulley used nut to stop it spinning.

The new pulley lacks the square nut cage, so I can't just drill it out for the round shaft.  I'll grind the shaft down instead.

Success!

Now lets see if I can remember how this all goes back together.

Reattach the motor to the top plate

Motor

Attach the interlock mechanism

Interlock mechanism

And the interlock circuit board

Interlock circuit board

Then reattach the on/off/speed/pulse switch.

Done!

Reassembled interior view

The final step is to put the bottom of the case back on and I'm back in business.

Success!

Crappy Kenwood plastic gears!

Expensive (yet crappy) Kenwood FP481 food processor strips its drive belt and gears when the chopper inevitably gets jammed.

I'm not sure what happened first.  Either the belt started to lose its teeth, then the gear started slipping and ground its teeth off.

Worn drive belt

Or the gear wore out first, then ground the teeth off the drive belt.

worn Kenwood FP481 upper sprocket

I'm currently trying to get replacements that aren't prohibitively expensive.  To make things harder, Kenwood changed the design of the sprocket slightly so current spares are not directly compatible.


On to the Kenwood HB720 tri-blade stick blender with mini chopper attachment.

Inside the chopper lid there is a single plastic cog on a metal shaft that drives 3 planetary gears. The cog has split, maybe after the shaft started slipping and heated up the plastic, but who knows. This cog needs to be stronger as it is driving 3 cogs. Or there should be a proper clutch mechanism that avoids catastrophe when the chopper inevitably jams.

2015-11-30-153000

This is clearly not meant to be serviced.  I'm supposed to throw it away and spend $27 on a new one.

Power consumption hall of shame

Some appliances consume quite a bit of power even when they are switched off. In the following table "soft off" means that it is turned off using the remote control or soft button. "switch off" means it is turned off using the (apparent) on/off switch.

Appliance On Soft off Switch off
Sharp TV 145 24 24
Samsung 22 inch TV 45 9
DSE DVD 14 10 0
Sony DVD 9 1
(next)

The so-called power switch is not always what it seems - for instance the Sharp TV switch just stops the TV being turned on using the remote, but power consumption is still 24W even in the off position.

Stupid serving suggestions.

Griffins suggests that you should serve two macaroons, one with a bite taken out of it, along with half of a miniature fresh coconut:

Macaroon "serving suggestion"

Tip top suggests that you should serve icecream by placing a ball of it on the table, and inserting two whole vanilla beans to look like a  moustache.  Then draw a red beret on top of it.

ball of icecream with vanilla beans Tip Top serving suggestion

A Better Microwave Oven UI

What should a power user's microwave oven interface look like? Not like my panasonic one

A sketch of a simple user interface for a microwave oven.

Two vertical touch strips, one linear power 10% to 100%, the other logarithmic time.  Touch the power to set power,  touch the time to set time and start the cooking.  The controls have lights behind to show current power setting and remaining time.  Any time, just touch either control to change the power, or increase or decrease the time. + - nudge button on the time.